Here we go again with another success sad history of OpenText and their cloud products. This time we’ve encountered a “funny” “feature” on the OTDS cloud container image.
We are deploying this on the cloud as part of a migration to Documentum 23.4, where OTDS is now mandatory. For this we deployed this OTDS on Azure, and first thing we see is:

So what do we do (OTDS is now quite a “simple product”, web application connecting to a DB, so there’s not much room for errors on a brand new deployment)? Let’s check the logs… kubectl logs… empty. Strange, let’s go directly to the container and check tomcat’s logs… tomcat/logs… empty. What? So we decide to dissect the image and what do we find? Another case of unexplicable decisions by OT: So what is happening here is that someone at OT has decided that this not an “OTDS cloud image” but rather “OTDS Cloud Foundry” image. So they have configured Tomcat (via setenv.sh) with Cloud Foundry logging, and removed everything else. As a result, if you’re using any other cloud provider, don’t be expecting any logs (because nobody would need to access logs for an authentication application, security audits? Nah).
So what can you do?
Obviously, first step is to report this to OT (done), and wait until someone realizes the mistake they have done (either “mislabeling” the image, as this is clearly not generic, or by simply releasing this publicly, as my suspicion is that this is OT’s internal OTDS image used in their environment).
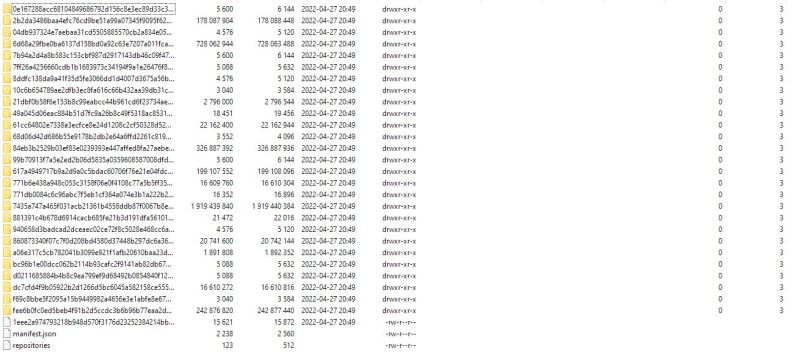
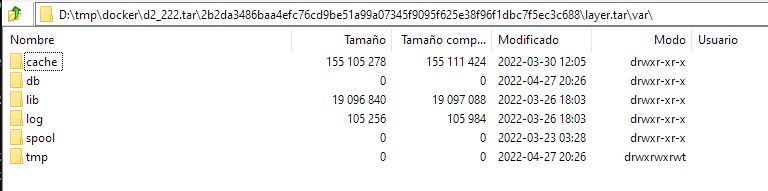
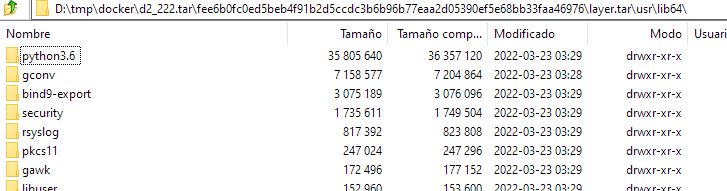
However, while this happens, we can be a little bit more proactive. By opening the image we can rebuild the Dockerfile used to build this image, which, more or less looks like this:
FROM redhat/ubi9-minimal:9.2

LABEL maintainer="Red Hat, Inc."
LABEL com.redhat.component="ubi9-minimal-container" name="ubi9-minimal" version="9.2"
LABEL io.k8s.display-name="Red Hat Universal Base Image 9 Minimal"
LABEL io.openshift.expose-services=""
LABEL io.openshift.tags="minimal rhel9"

ENV PATH /usr/local/sbin:/usr/local/bin:/usr/sbin:/usr/bin:/sbin:/bin

RUN microdnf update -y && microdnf clean all
RUN microdnf install -y glibc-langpack-en tzdata fontconfig && microdnf clean all

COPY jdk-17.0.8+7-jre '/opt/jdk-17.0.8+7-jre'
RUN cd /opt; ln -s jdk-17.0.8+7-jre jre;

RUN mkdir -p /opt/newrelic;
COPY newrelic-agent-8.5.0.jar /opt/newrelic
COPY newrelic.yml /opt/newrelic
RUN cd /opt/newrelic; ln -s newrelic-agent-8.5.0.jar newrelic.jar;

RUN mkdir /opt/scripts && ln -s /opt/tomcat/bin/healthcheck.sh /opt/scripts/healthcheck.sh && chown -R otuser:0 /opt/scripts

COPY --chown=otuser:0 tomcat/ /opt/tomcat/
From here you can see OT is basically updating the base RH image, copying a JDK17, newrelic libraries (another library irrelevant to any OT product and that we’re just “pushed” to use/have there) and a “custom made” Tomcat (including the Cloud Foundry logging), so nothing too fancy.
So at this point, you can simply take your own Tomcat, and rebuild the image without Cloud Foundry, but why all these commands? why all that additional things in OTDS? Why is this image using RH minimal while CS uses Oracle Linux, and new containers are moving to Alpine? Why it is so difficult to align components to use the same technologies?
Well, here you have another approach to building the same image, and you can judge what looks simpler to build and maintain:
FROM tomcat:jre17-temurin

COPY webapps/ /usr/local/tomcat/webapps
COPY otds-install/ /usr/local/tomcat/otds-install
COPY otds.properties /usr/local/tomcat/webapps/otdsws/WEB-INF/classes/otds.properties
COPY setPassword.sh /usr/local/tomcat/bin

RUN chmod u+x /usr/local/tomcat/bin/setPassword.sh

ENV DBJDBC=jdbc
ENV DBUSER=user
ENV DBPWD=dbpwd

CMD ["/bin/bash", "-c", "setPassword.sh;catalina.sh run"]
This is from a custom container that I’m using locally. Quick explanation:
- tomcat:jre17-temurin: Official Tomcat image. Why would you bother to build something it is already done? No need to maintain / update JDK and Tomcat when Apache is already doing that.
- COPY fragments: Despite this is W R O N G, I copied the webapps folder (which should be mapped from a persistent volume and never be included on the image) just to mimic OT’s approach, I just needed a few lines to include the applications, and required customizations (here, setPassword.sh will encrypt the provided password (s) and update otds.properties accordingly)
- ENV variables: Well, parameters that we can customize
- Anything else: You add whatever you need because that would not be part of OTDS, but requirements of your own environment.
And there you go, a simpler container image in no time. Do you need to update Java or Tomcat? Just use a newer Tomcat image and it is done. Do you want to deploy on Azure or AWS? Do it, you’ll have logs (unlike right now, even on 24.1)


 And if you log in Documentum Administrator:

