This is a step-by-step guide to install Documentum 26.2 in WSL2 using the Rocky Linux 9 image with PostgreSQL 18. This version comes with some changes:
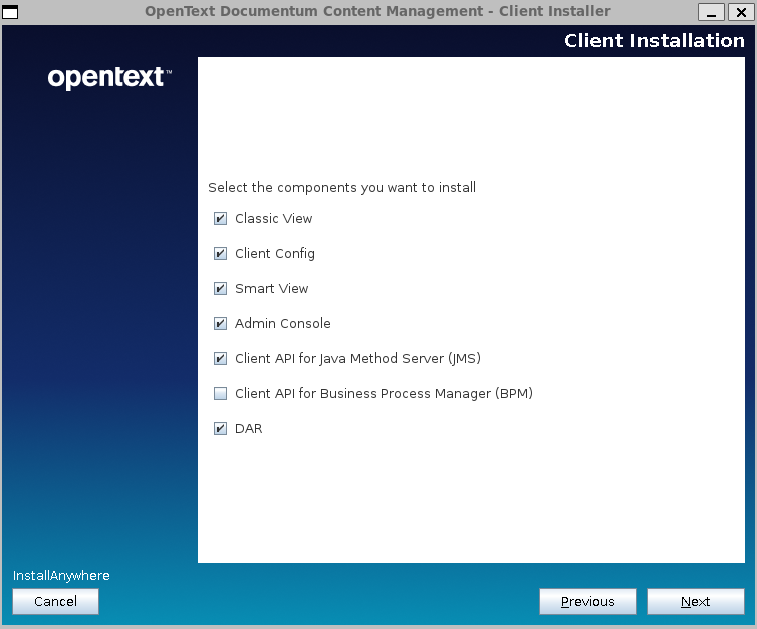
- OT has rebranded (yet again) the products:
- D2 -> classic
- D2-Config -> config
- D2-Smartview -> smartview
- D2-Rest -> client-rest
- Not happy with this, they have also renamed D2FS.properties to client.properties
- And to increase the number of changes, all the log files have been renamed to match the new product names (However, totally unexpected from the “talented team”, they still are hardcoding the log path on Linux to “C:/Logs”. Maybe some day they’ll discover about catalina_home).
- And talking about tomcat’s variables, Tomcat is the only supported application server.
- Other features include:
- Improvements and new features for Smartview, integration with M365 and the Guidewire integration
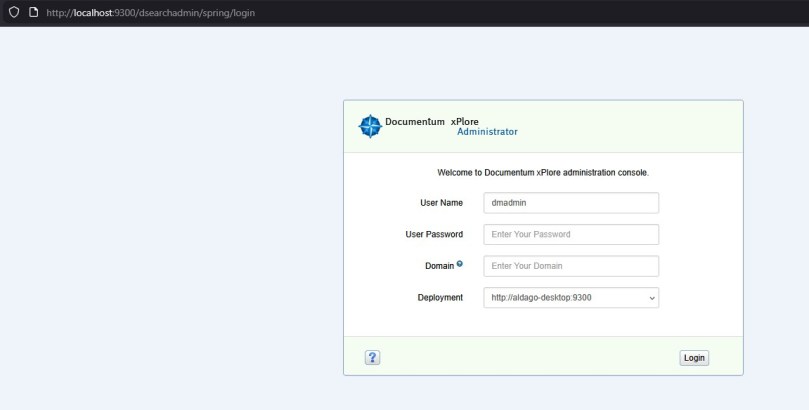
- No word yet about Documentum Search but xPlore is back to be part of the official downloads
- Remember this is part of the new support model for Documentum releases, where x.2 are considered “beta” versions for brave customers with shorter support, and x.4… are the same but with longer support.
Initial Configuration
There’s no official image on Microsoft Store so you’ll need to download the container image from the Rocky Linux page. Once this is done, you can import the image:
wsl --import RockyLinux9Dctm262 c:\Users\aldago\rockylinux262\ d:\dctm\dctm262\Rocky-9-Container-Base.latest.x86_64.tar.xz
After importing the image, we can log in (as root) and start the basic configuration of the server:
[root@desktop ~]# yum -y update
[root@desktop ~]# yum -y install sudo procps tcl expect libXtst xterm libxcrypt-compat

[root@desktop ~]# adduser dmadmin
[root@desktop ~]# passwd dmadmin
Changing password for user dmadmin.
New password:
BAD PASSWORD: The password is shorter than 8 characters
Retype new password:
passwd: all authentication tokens updated successfully.

[root@desktop ~]# usermod -aG wheel dmadmin
[root@desktop ~]# su - dmadmin
[dmadmin@aldago-desktop ~]$ sudo vi /etc/wsl.conf
[boot]
systemd=true
PostgreSQL Configuration
First we need to install PostgreSQL:
[root@desktop ~]# dnf install -y https://download.postgresql.org/pub/repos/yum/reporpms/EL-9-x86_64/pgdg-redhat-repo-latest.noarch.rpm
[root@desktop ~]# dnf -qy module disable PostgreSQL

[root@desktop ~]# dnf install -y postgresql18-server

[root@desktop ~]# /usr/pgsql-18/bin/postgresql-18-setup initdb
Initializing database ... OK

[root@desktop ~]# systemctl start postgresql-18
[root@desktop ~]# systemctl enable postgresql-18
Created symlink /etc/systemd/system/multi-user.target.wants/postgresql-18.service → /usr/lib/systemd/system/postgresql-18.service.
[root@desktop ~]# systemctl status postgresql-18

[root@desktop ~]# su - dmadmin
[dmadmin@desktop ~]$ sudo su - postgres
[sudo] password for dmadmin:
[postgres@desktop ~]$ psql
psql (18.4)
Type "help" for help.

postgres=# \password postgres
Enter new password for user "postgres":
Enter it again:
postgres=# exit
[postgres@desktop ~]$ exit
logout

[dmadmin@desktop ~]$ sudo passwd postgres
Changing password for user postgres.
New password:
BAD PASSWORD: The password is shorter than 8 characters
Retype new password:
passwd: all authentication tokens updated successfully.
Next, we can install phpgadmin for easier administration:
[root@desktop ~]# rpm -i https://ftp.postgresql.org/pub/pgadmin/pgadmin4/yum/pgadmin4-redhat-repo-2-1.noarch.rpm
[root@desktop ~]# dnf makecache.
[root@desktop ~]# dnf install -y pgadmin4-web

[root@desktop ~]# /usr/pgadmin4/bin/setup-web.sh
Setting up pgAdmin 4 in web mode on a Redhat based platform...
Creating configuration database...
NOTE: Configuring authentication for SERVER mode.
Enter the email address and password to use for the initial pgAdmin user account:
Email address: dmadmin@dmadmin.dmadmin
Password:
Retype password:
You can now start using pgAdmin 4 in web mode at http://127.0.0.1/pgadmin4
And finally, we can configure the odbc connection:
[root@desktop ~]# yum -y install postgresql18-odbc.x86_64 unixODBC.x86_64
[root@desktop ~]# vi /etc/odbc.ini
[MyPostgres]
Description=PostgreSQL
Driver=PostgreSQL
Database=postgres
Servername=localhost
UserName=postgres
Password=dmadmin
Port=5432
Protocol=18
ReadOnly=No
RowVersioning=No
ShowSystemTables=No
ShowOidColumn=No
FakeOidIndex=No
UpdateableCursors=Yes
DEBUG=Yes

[root@desktop ~]# vi /etc/odbcinst.ini
[PostgreSQL]
Description     = ODBC for PostgreSQL
Driver          = /usr/pgsql-18/lib/psqlodbcw.so
Driver64        = /usr/pgsql-18/lib/psqlodbcw.so
Setup64         = /usr/lib64/libodbcpsqlS.so.2
FileUsage       = 1

[root@desktop ~]# su - dmadmin
[dmadmin@desktop ~]$ isql -v MyPostgres
+---------------------------------------+
| Connected!                            |
|                                       |
| sql-statement                         |
| help [tablename]                      |
| echo [string]                         |
| quit                                  |
|                                       |
+---------------------------------------+
SQL>
Documentum Server
First, we need to create the DB folder:
[dmadmin@desktop ~]$ su - postgres
Password:
[postgres@desktop ~]$ mkdir /var/lib/pgsql/18/data/db_dctm262_dat.dat
The Documentum folders and JDK (stick to the supported 21 version and remember to remove anon from the disabled algorithms to avoid issues):
[dmadmin@desktop ~]$ sudo mkdir -p /opt/documentum/sw && sudo mkdir -p /opt/documentum/product/26.2
[dmadmin@desktop ~]$ sudo chown -R dmadmin:dmadmin /opt/documentum
Add environment variables to .bash_profile:
[dmadmin documentum]$ vi ~/.bash_profile
DOCUMENTUM=/opt/documentum
export DOCUMENTUM

DM_HOME=$DOCUMENTUM/product/26.2
export DM_HOME

DM_JMS_HOME=$DOCUMENTUM/tomcat
export DM_JMS_HOME

POSTGRESQL_HOME=/usr/pgsql-18
export POSTGRESQL_HOME

JAVA_HOME=/opt/documentum/jdk-21.0.9+10
export JAVA_HOME

PATH=$PATH:$DM_HOME/bin:$POSTGRESQL_HOME/bin:$HOME/.local/bin:$HOME/bin:$JAVA_HOME/bin:$DOCUMENTUM/dba
export PATH

LC_ALL=C
export LC_ALL

LD_LIBRARY_PATH=$POSTGRESQL_HOME/lib:$DM_HOME/bin:/usr/lib64:$LD_LIBRARY_PATH
export LD_LIBRARY_PATH

export DM_CRYPTO_MIN_PASSWORD_LENGTH=8

DISPLAY=:0
export DISPLAY

export PS1='[\u@\h \w]\$ '
Reserve ports and configure limits.conf:
[dmadmin ~]$ sudo vi /etc/services
dctm262 50000/tcp # dctm 26.2 repo
dctm262_s 50001/tcp # dctm 26.2 repo

[dmadmin ~]$ sudo vi /etc/security/limits.conf
dmadmin – core -1

[dmadmin@desktop /opt/documentum]$ sudo ln -s /usr/lib64/libsasl2.so.3.0.0 /usr/lib64/libsasl2.so.2
[dmadmin@desktop /opt/documentum]$ sudo ln -s /usr/lib64/libssl.so.3 /usr/lib64/libssl.so.10
And now you can simply install content server normally 🙂